Source是负责接收数据到Flume Agent的组件。Source组件可以处理各种类型、各种格式的日志数据,包括avro、thrift、exec、jms、spooling directory、netcat、sequence generator、syslog、http、legacy。官方提供的source类型已经很多,但是有时候并不能满足实际开发当中的需求,此时我们就需要根据实际需求自定义某些source。
(1)自定义source的接口。
官方提供了自定义source的接口(https://flume.apache.org/FlumeDeveloperGuide.html#source)。
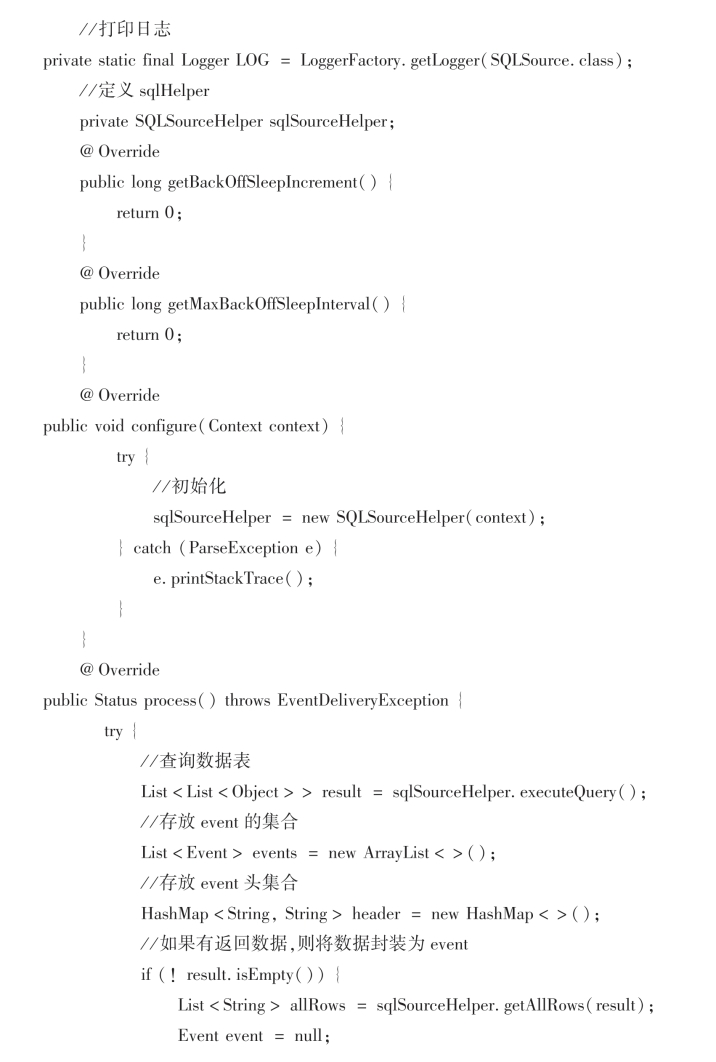
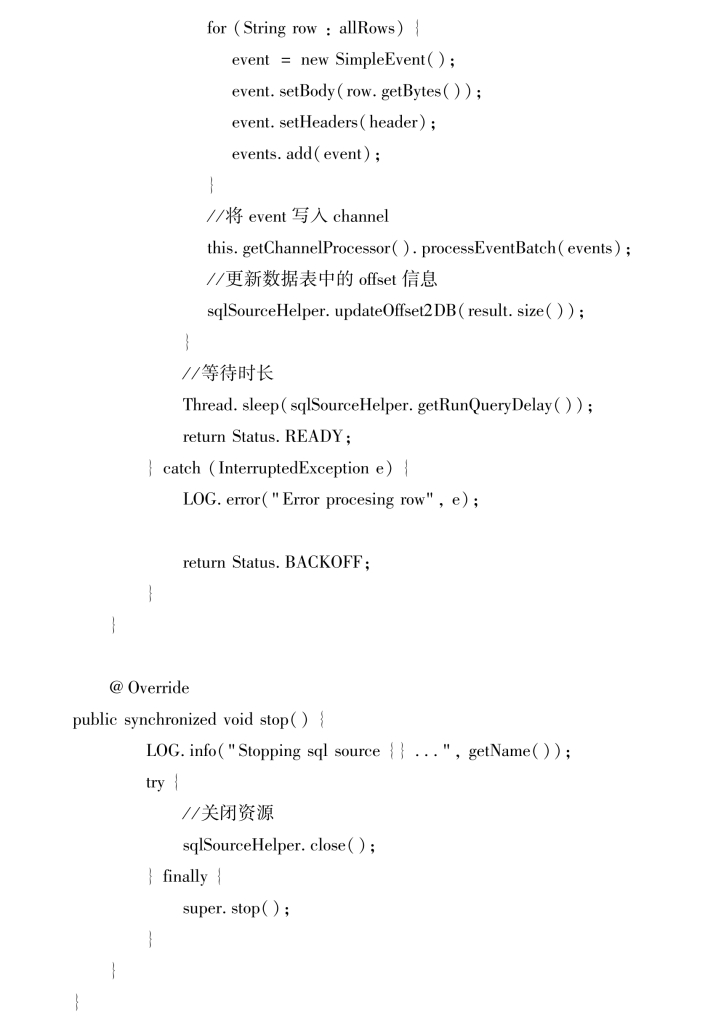
根据官方文档说明,自定义mysqlsource需要继承AbstractSource类并实现Configurable和PollableSource接口。相应实现方法的含义如下:
configure(Context context)//初始化context
process()//获取数据(从mysql获取数据,业务处理比较复杂,此处定义类QueryMysql,专门用于跟mysql的交互,并封装成event并写入channel;
stop()//关闭相关的资源;
(2)自定义mysqlsource实现。
任务要求:实时监控MySQL,从MySQL中获取数据传输到HDFS或者其他存储框架,需要实现自定义的MySQLSource。
下面以实现自定义的mysqlsource为例,介绍实现自定义Source的具体实现过程。
1)MySql表准备。
①进入mysql终端,创建MySqlSource数据库。
sql>CREATE DATABASE'mysqlsource';
sql>USE'mysqlsource';
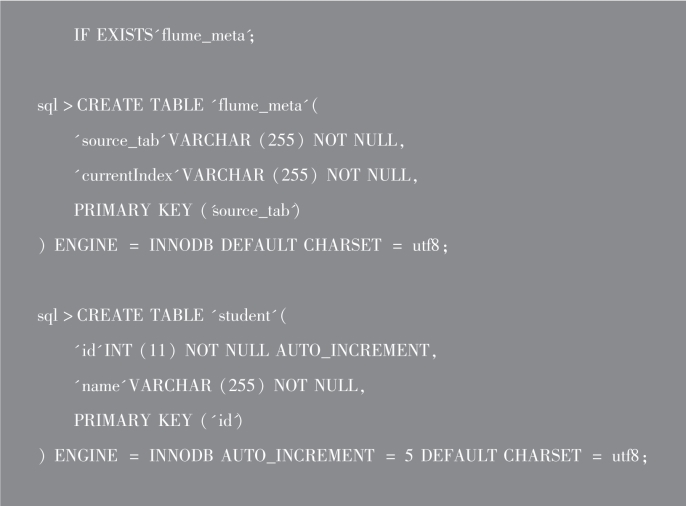
②进在MySqlSource数据库下创建数据表Student和元数据表Flume_meta。
sql>DROP TABLE
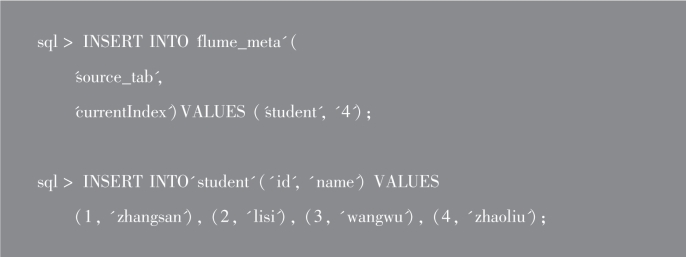
③向数据表中添加数据。
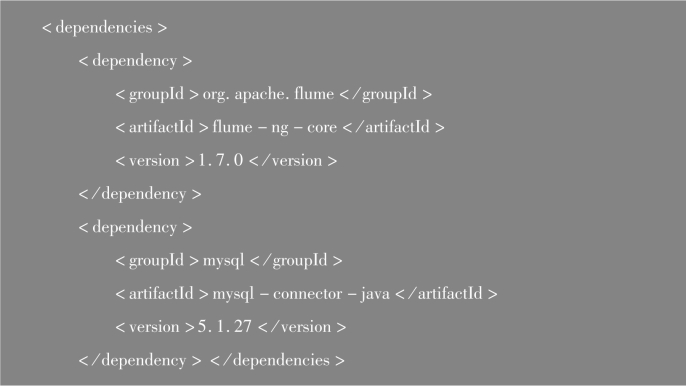
2)创建maven工程,在pom.xml文件中添加如下内容,导入pom依赖。
3)添加配置信息。
在ClassPath下添加jdbc.properties和log4j.properties jdbc.properties。
#--------jdbc.properties-----------
dbDriver=com.mysql.jdbc.Driver
dbUrl=jdbc:mysql://hadoop102:3306/mysqlsource?useUnicode=
true&characterEncoding=utf-8
dbUser=root
dbPassword=000000
#--------log4j.properties-----------
log4j.rootLogger=info,myconsole,myfile
log4j.appender.myconsole=org.apache.log4j.ConsoleAppender
log4j.appender.myconsole.layout=org.apache.log4j.SimpleLayout
#log4j.appender.myconsole.layout.ConversionPattern=%d[%t]%-5p[%c]
-%m%n
#log4j.rootLogger=error,myfile
log4j.appender.myfile=org.apache.log4j.DailyRollingFileAppender
log4j.appender.myfile.File=/tmp/flume.log
log4j.appender.myfile.layout=org.apache.log4j.PatternLayout
log4j.appender.myfile.layout.ConversionPattern=%d[%t]%-5p[%c]-
%m%n
4)类MySQLSource实现。
①实现程序框架如图7-34所示。
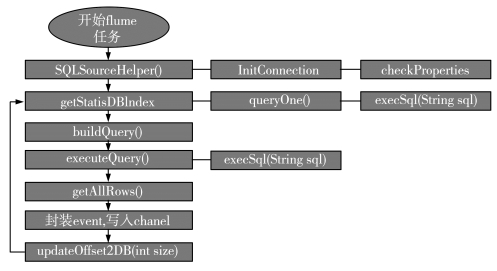
图7-34 程序框架
②类SQLSourceHelper实现。
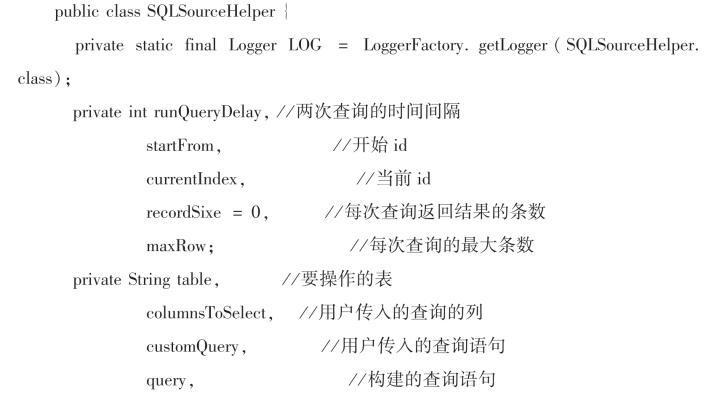
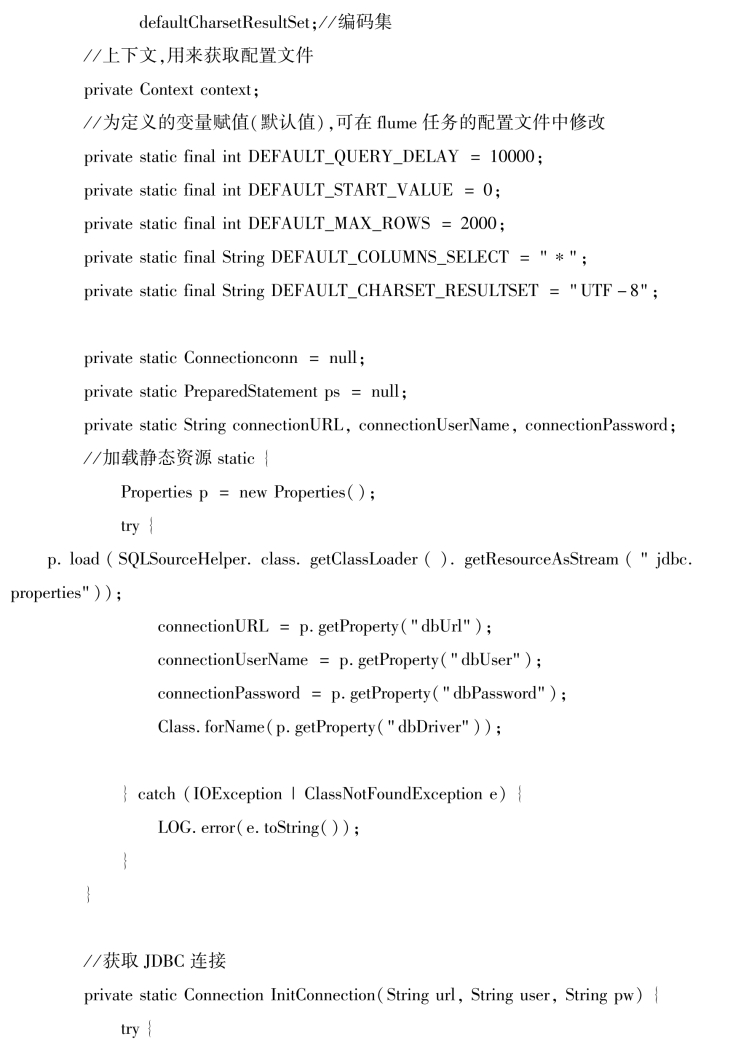
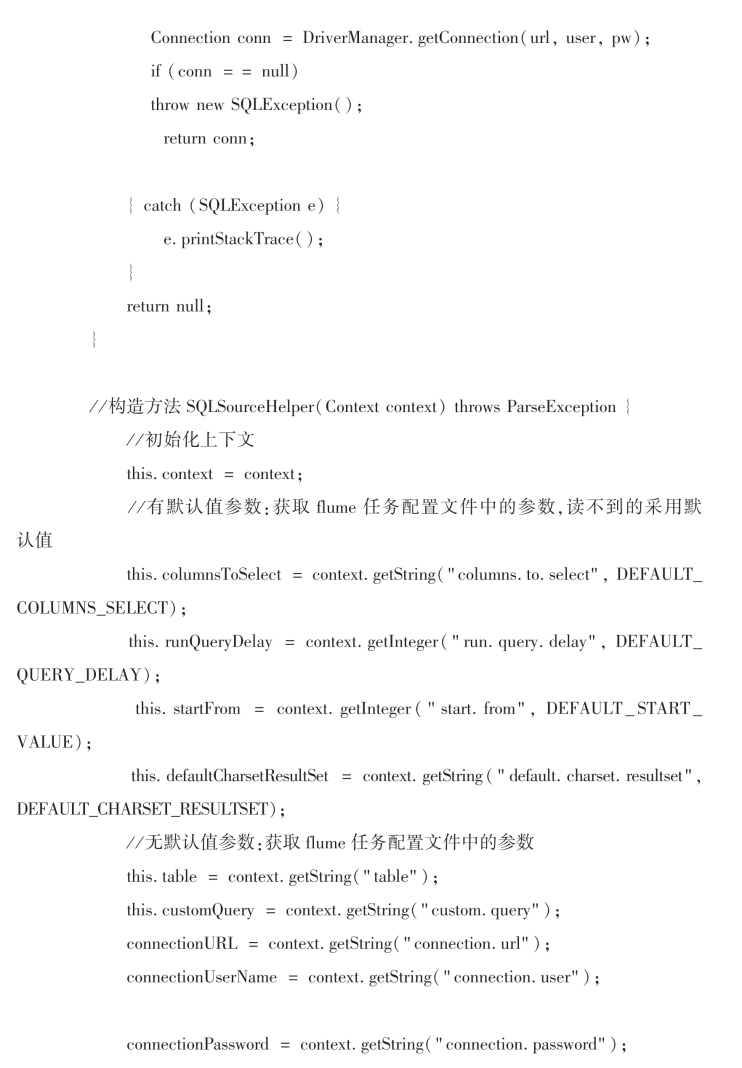
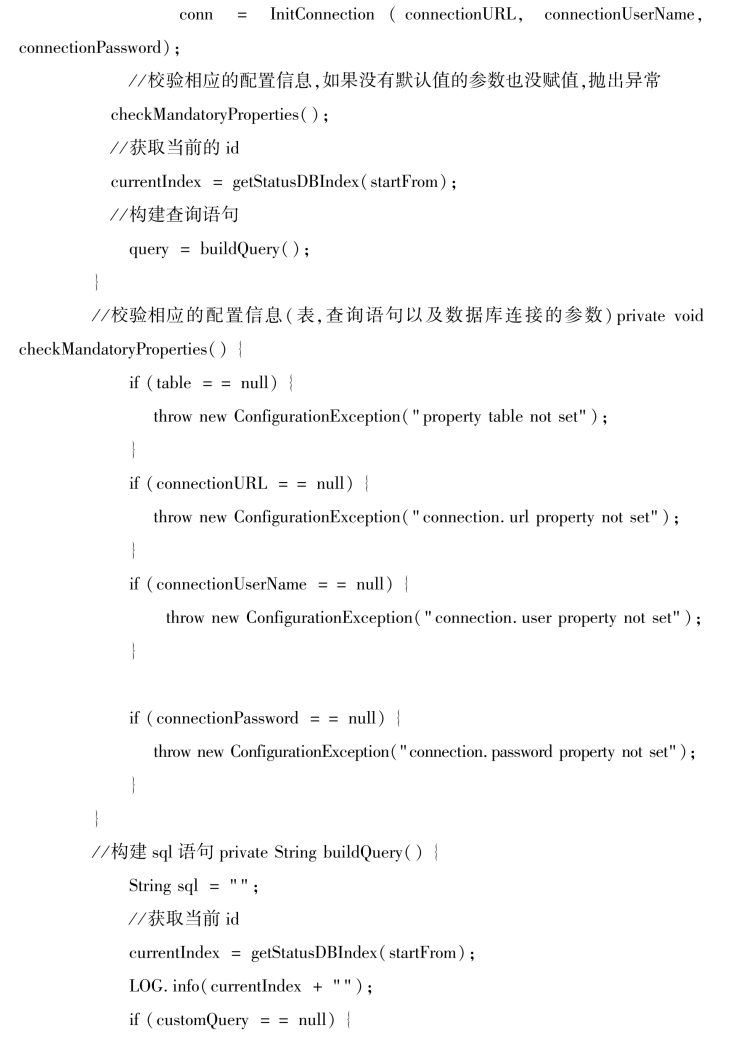 (https://www.xing528.com)
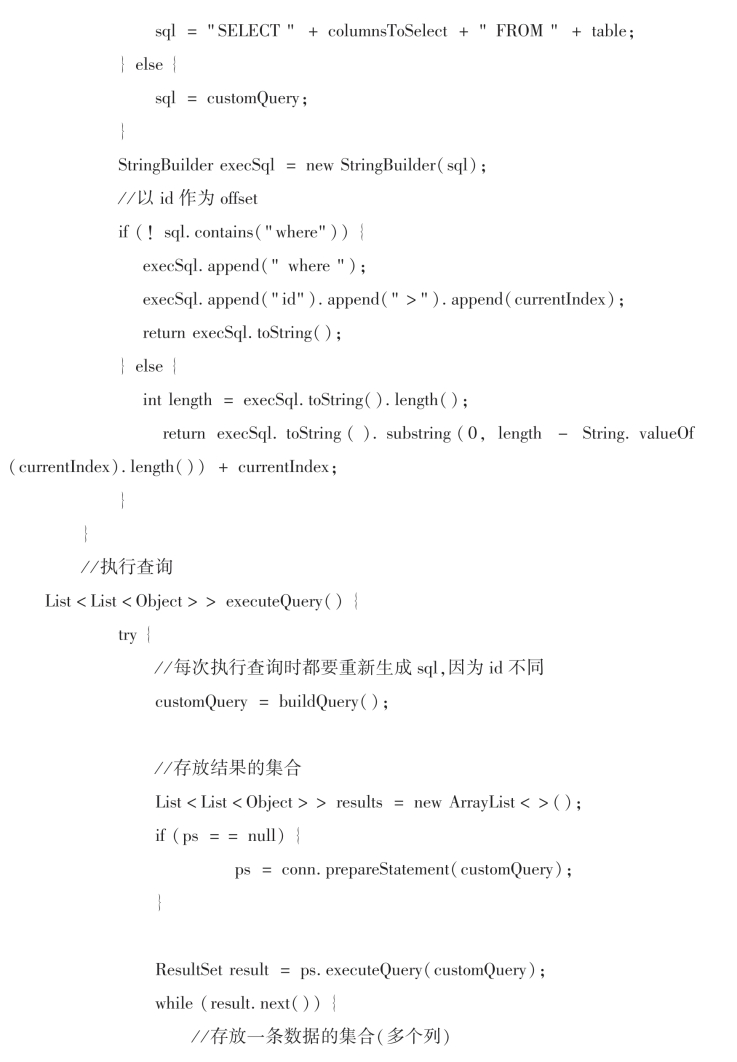
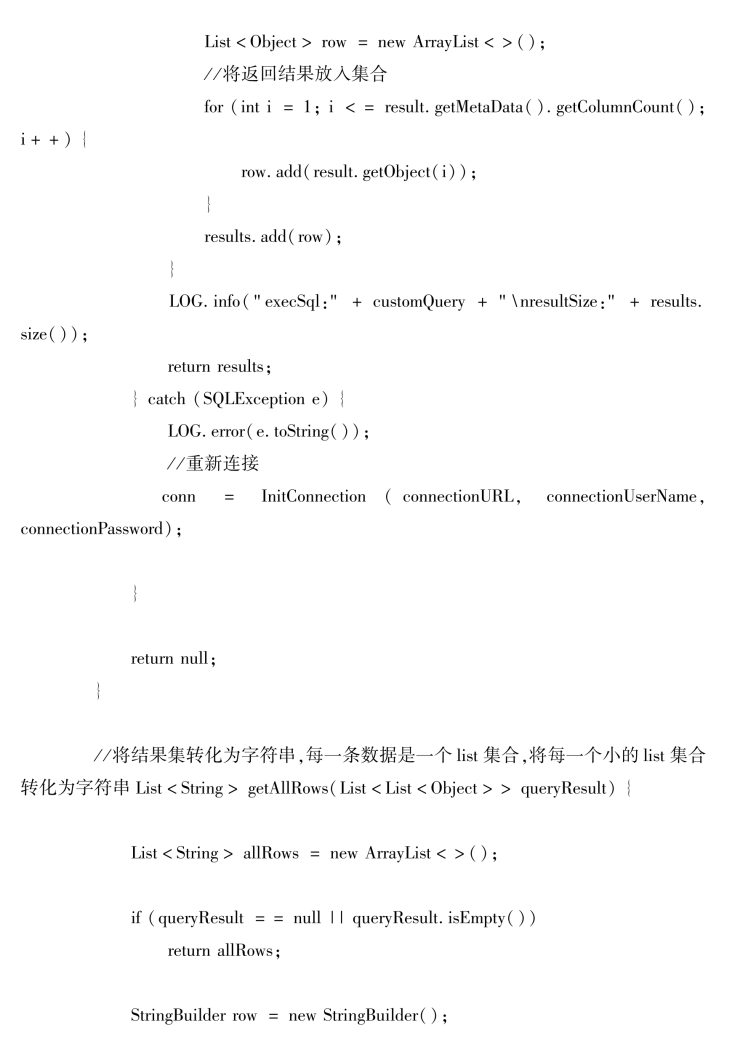
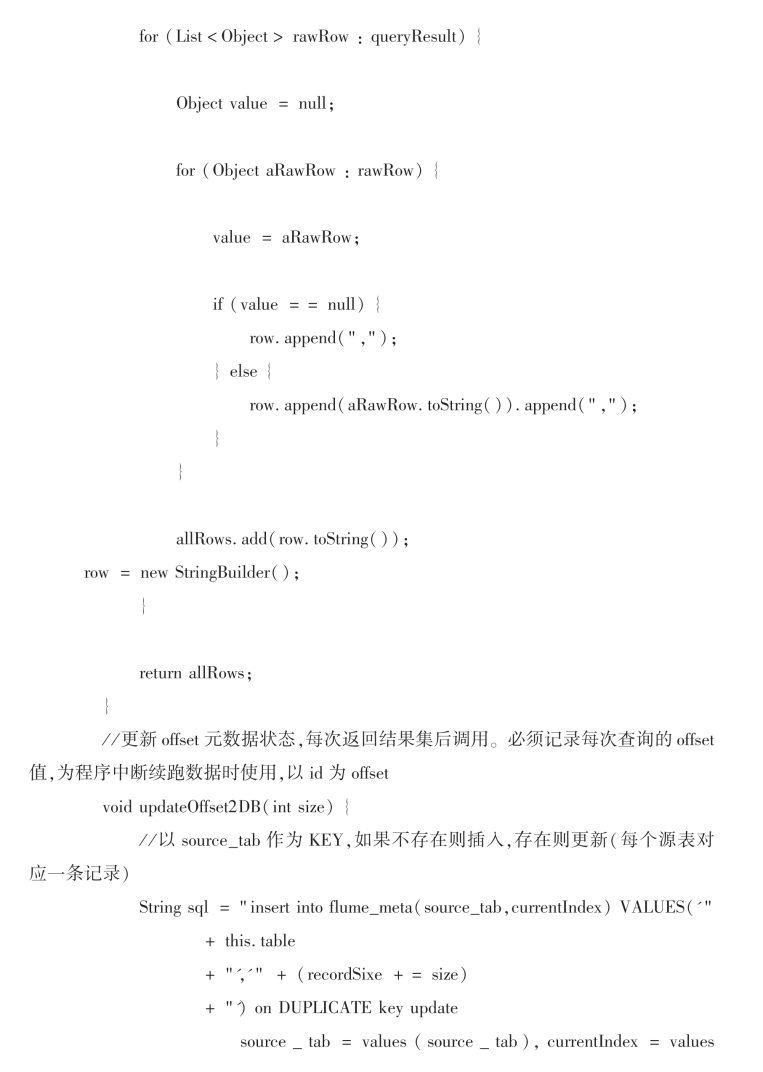
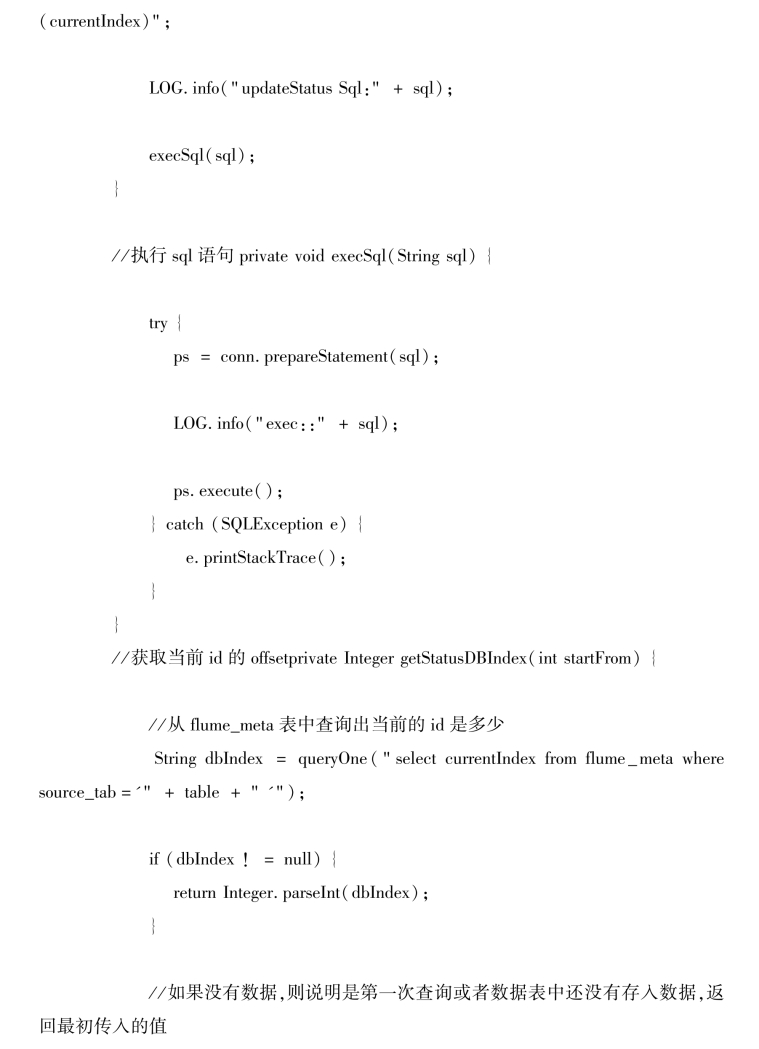
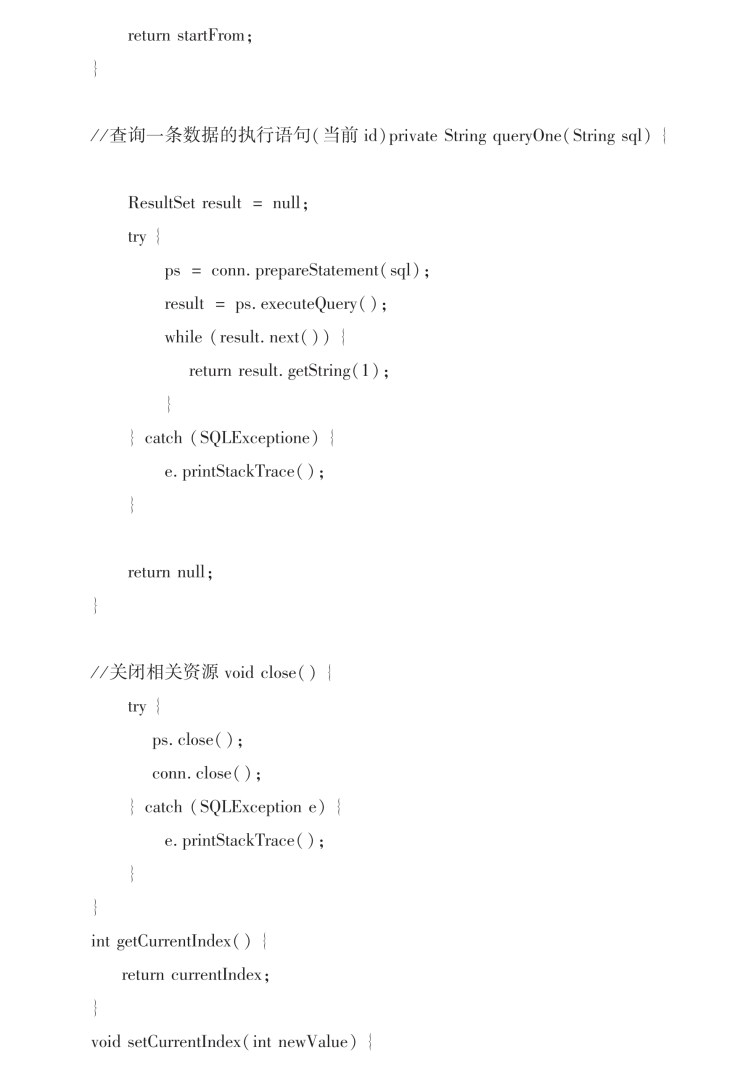
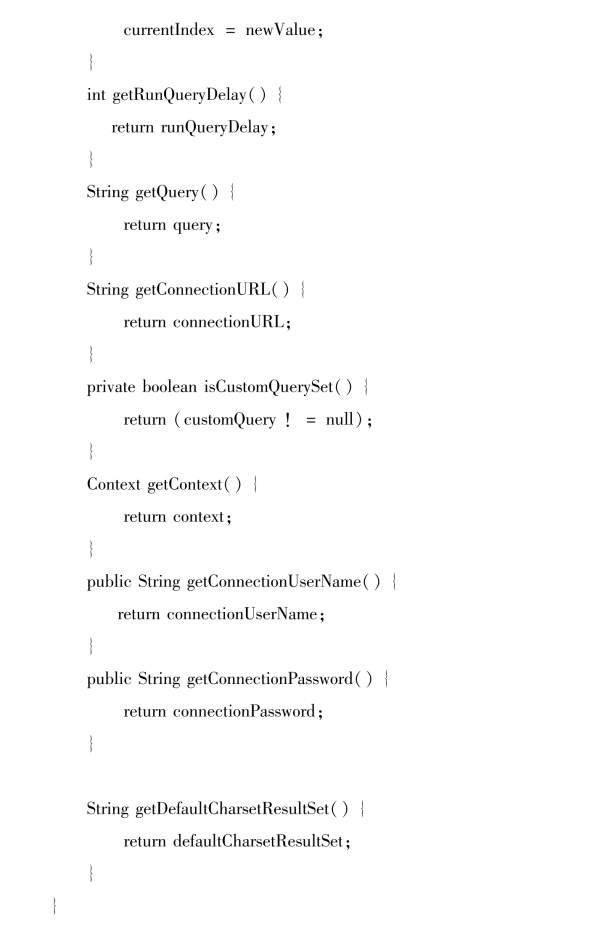
③类MySQLSource实现。

5)运行测试。
①Jar包准备,进入终端执行以下shell命令,将MySql驱动包放入Flume的lib目录下。
cp/opt/sorfware/mysql-libs/mysql-connector-java-5.1.27/mysql
connector-java-5.1.27-bin.jar/opt/module/flume/lib/
②打包项目并将Jar包放入Flume的lib目录下(具体过程参见7.4.1节)。
③进入终端,创建配置文件并打开。
1.sudo touch mysql.conf
2.sudovim mysql.conf
④在mysql.conf文件中添加如下内容。
# Name the components on this agent
a1.sources=r1
a1.sinks=k1
a1.channels=c1
# Describe/configure the source
a1.sources.r1.type=com.atguigu.source.SQLSource
a1.sources.r1.connection.url=jdbc:mysql://192.168.9.102:
3306/mysqlsource
a1.sources.r1.connection.user=root
a1.sources.r1.connection.password=000000
a1.sources.r1.table=student
a1.sources.r1.columns.to.select=∗
#a1.sources.r1.incremental.column.name=id
#a1.sources.r1.incremental.value=0
a1.sources.r1.run.query.delay=5000
# Describe the sink
a1.sinks.k1.type=logger
# Describe the channel
a1.channels.c1.type=memory
a1.channels.c1.capacity=1000
a1.channels.c1.transactionCapacity=100
# Bind the source and sink to the channel
a1.sources.r1.channels=c1
a1.sinks.k1.channel=c1
⑤进入终端,执行下列shell命令,运行行测试。
bin/flume-ng agent--conf conf/--name a1--conf-file job/mysql.conf
-Dflume.root.logger=INFO,console
执行结果,如图7-35所示。
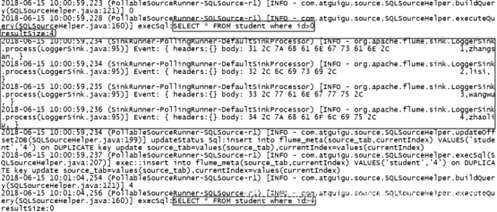
图7-35 结果输出
免责声明:以上内容源自网络,版权归原作者所有,如有侵犯您的原创版权请告知,我们将尽快删除相关内容。


